Pro tips to take the best photos when trying to sell your car
These simple photography tips will make your car listing stand out from the rest.

Whether you’re shopping for a new or used car, you know that you’re going to be spending a lot of time looking at photos. The quality of the photos not only tells the buyer about the car, but also creates an important impression of the seller, too. I talked to Texas-based professional automotive photographer Kevin McCauley to learn some tips about creating the best photographs to help you sell your car. Even if you’re not selling your ride, these techniques can help ensure that it looks good on social media.
Get the hero shots, but don’t forget about the details
It’s crucial to capture the entire car, but the details are important, too. “Show everything to give the buyer confidence to bid on or purchase the car. Get all your dramatic hero shots but leave no stone unturned.” Providing ample, detailed photos will reassure a potential buyer that you’re not trying to hide anything.
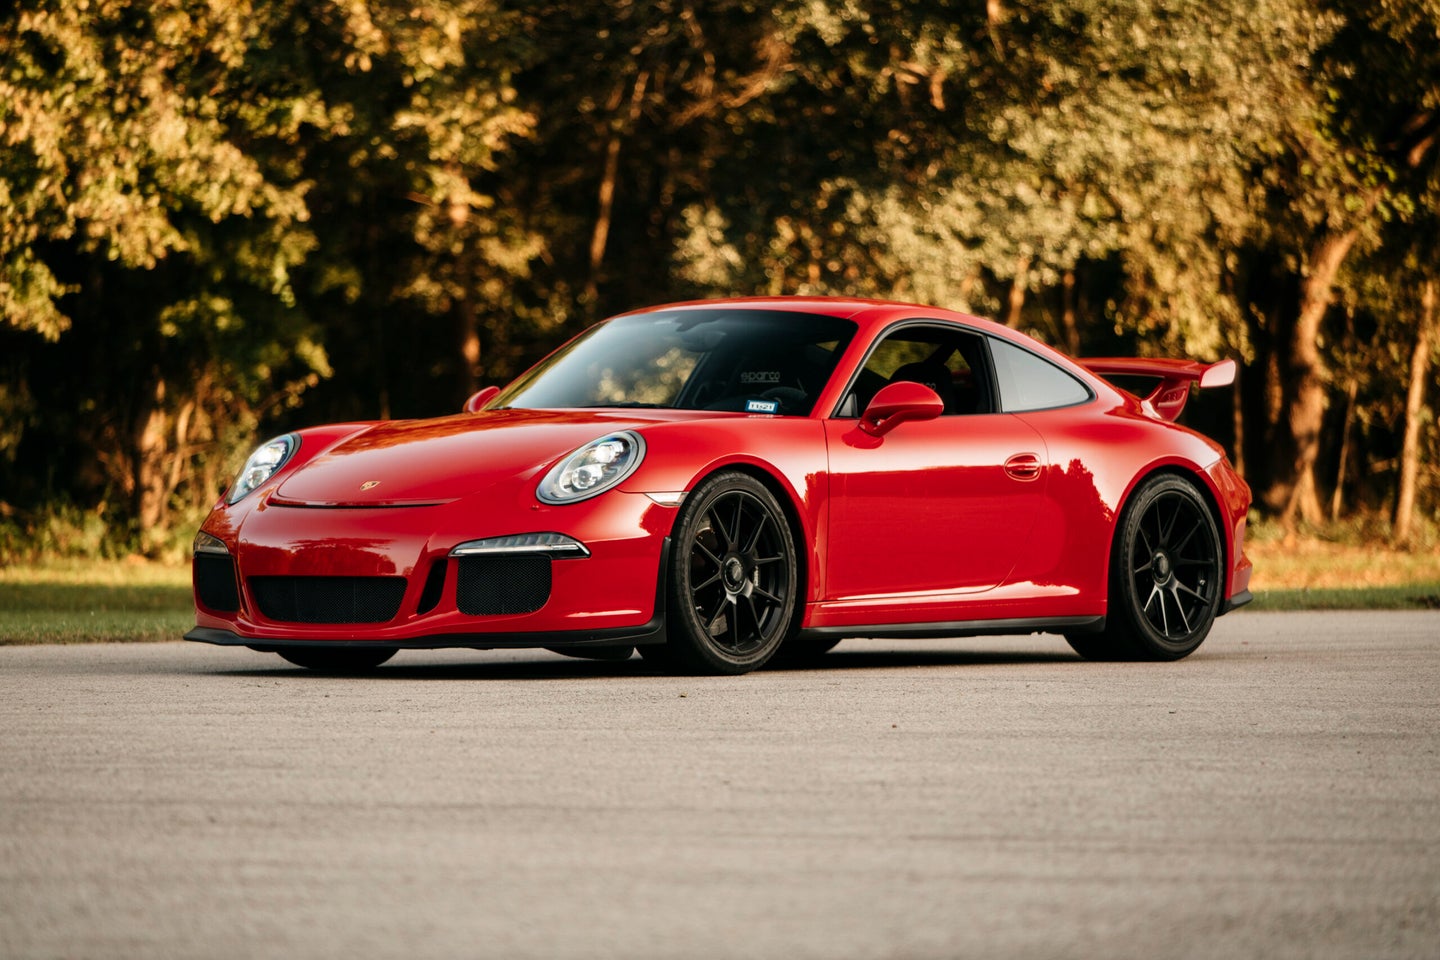
When considering your “hero shot”—the first photograph that a prospective buyer will see—McCauley describes “the classic car photography angle:” A three-quarter angle of the front with the wheel turned so that the viewer sees the face of the wheel. “That’s a popular composition for a reason,” he says. This angle gives the viewer a full sense of the car in a situation where first impressions are critical.
Don’t ignore your background
Even a perfectly positioned car can’t pop off of a lackluster background. “You want an uncluttered, neutral, non-distracting background,” says McCauley. Find a location where you have space and time to be left alone and reposition or move around the car as needed. Objects like other cars, utility poles, or anything that makes the backgrounds look busy can take a viewer’s eye away from what you want them to see.
A clean background will also ensure that your photo translates well into a small thumbnail. If a potential buyer is scrolling through an endless sea of small car pictures, a clear setting will make yours stand out.
Shoot longer focal lengths
As with any kind of photography, lens choice plays a crucial role. “A big one for me is telephoto—70mm, 85mm, or even 200mm. [They provide] really nice separation from the background and make the car look great.” The compressed perspective of a telephoto lens will display the car in a flattering way without the exaggerated, almost fish-eye perspectives that a wider lens found on most smartphones will provide. McCauley points out that “the buyer will recognize that you put in some effort and it doesn’t look like an ordinary car photo.” It will also be much closer to what people typically see in advertisements and magazines.
Focus on key things when photographing interiors
When you’re photographing the interior, “make sure the steering wheel is always in focus, even if you’re shooting from the passenger side and the wheel isn’t the primary focus,” says McCauley. “The viewer’s eye will always go to the steering wheel, and it looks weird if the badge in the center of the wheel is blurry.”
The same rules apply on the inside as they do outside—be thorough when showing the details of the interior: seats, equipment, floors and other small details should all be easy to inspect.
Find the Ideal Light
McCauley stresses “even light” as the best case for this kind of shoot. Late day, dusk, dawn, or indirect sunlight all work better than direct sunlight. “If you’re shooting during the day, find some open shade, like behind a building or under some dense trees.”
Soft, even light will reduce bright, distracting hotspots, reflections, and harsh shadows that could obscure details.
That goes for interior shots, too. “Use the same kind of light: shade. An overly contrasty photo will cause you to lose shadows and blow out highlights,” McCauley explains.
Take advantage of the phone in your pocket–and its editing capabilities
You should expect to do at least a little editing when you shoot a picture of your car. “I like to underexpose a bit and then warm up the picture,” says McCauley. Certain lighting conditions will cause photos to have an unwanted color cast, and a simple tweak can also fix those, too. “Sometimes they’re a little cool (blue), or sometimes you’ll see some color artifacts that make a black surface look green or magenta.” All smartphone camera apps, even the default options, have a number of editing tools to take advantage of to make colors more accurate and pleasing to the eye.
McCauley recommends Halide for iOS. He says that a somewhat recent hardware and software refresh with iPhones has a “baked in HDR look that makes things look a little muddy,” and that Halide offers him more simplicity in changing exposure.
Some mistakes to avoid
“Don’t shoot from eye level,” McCauley says. An eye-level shot is the perspective from which we see cars all day, every day–and that can keep your photographs from standing out and making an impact.
You should also give the car a little room to breathe. “Avoid filling the frame with the car from edge to edge.” Some apps will crop your photos in ways that don’t allow you to decide, which can cause an unflattering first impression. Filling the frame “about ¾ is a good rule” and gives the photo space so it doesn’t feel claustrophobic.